Tungsten Isn’t Dead: Lighting an Indie Feature with Old-School Tools
When we started working on A Kind of Kidnapping — my first feature as a Director of Photography — one of the first conversations I had with the director was about how we weren’t going to light it like a sitcom.
He was all for it. He wanted the film to feel more like a drama — something closer in tone to Martin McDonagh’s In Bruges. That set the visual direction for the film — naturalistic, but cinematic.
For advice, I reached out to a few cinematographers I’d worked with over the years. One DoP, who had shot several successful low-budget movies, gave me some invaluable advice: use natural lights, practicals, turn lights off, use a bit of bounce, and some negative fill. Essentially, keep the lighting minimal. That was the approach I expected to take, especially for our film, which had a tiny budget and a tight schedule.
But the more I thought about it, the more I realized we faced a unique challenge. We were shooting in one location for most of the film, and due to scheduling and continuity for makeup and costumes, we often needed to shoot day-to-night-to-day within a single shooting day. Some days, we were tackling up to nine pages of script, rapidly transitioning between different times of day. I’d just spent a year working as a DIT on a TV show at Leavesden Studios and had become quite accustomed to the studio way of lighting. You could pre-light for different looks and switch between them effortlessly. So why not bring some of that studio approach to our indie film?
Embracing a Studio Approach
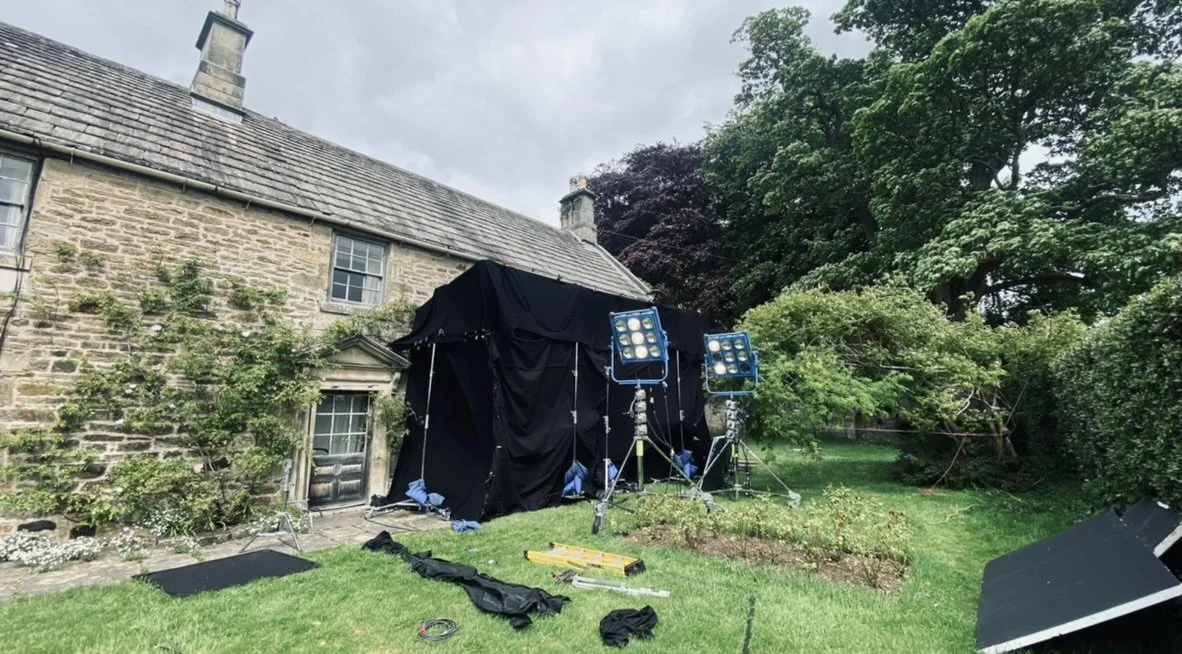
We decided to treat the house, our main location, like a studio. A few days before we started shooting, we essentially tented the entire ground floor. We built fabric tents around each window and door, and inside those tents, we set up lighting so we could simulate daylight at various intensities and angles or quickly block out all the light to push moonlight through the windows. This setup allowed us to transition smoothly between different lighting scenarios without missing a beat.
The tents with sides down for “night mode" or these could be lifted to punch through the maxi brutes for day - leaving the roof of the tent to control any real sunlight spilling in
Choosing Tungsten Lights
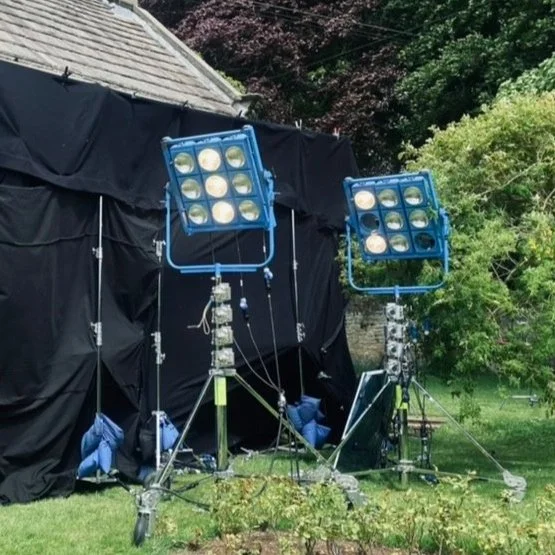
The decision to use mostly tungsten lights for the big fixtures was primarily budgetary. Tungsten lights are budget-friendly if you can manage the power requirements. The fixtures, like the 9-Lite Maxi Brutes we used, are very cheap because they don’t go out very often and are decades old. If you’re setting up and leaving them in place, the logistical challenges of running power cables and setting up heavy stands are minimized. One of our producers managed to secure a large generator typically used for weddings, which wasn’t industry-specific but worked perfectly for our needs. We set it up near the location and ran cables down to our lighting setup.
9 light maxi’s gave us plenty of punch but also could be run with just a couple of bulbs to adjust intensity without changing colour temperature
Practical Implementation
The tungsten lights are straightforward once you have power sorted. They require a big power connection, but after that, they’re easy to manage. I particularly like the Maxi Brutes because they offer control over both intensity and color temperature. Unlike 20K or 10K lights, where you have to dim them (which changes the color temperature) or use scrims, with Maxi Brutes, you can simply turn off individual bulbs or dim them to get the desired warmth. Plus, the quality of light from tungsten is excellent—pure and clean, without the issues some lower-quality LEDs can present.
Enhancing Efficiency on Set
One of the key advantages of our approach was having the set as lit as possible before the director and actors stepped on. Pre-lighting meant we could rough in most of the lighting early, allowing the actors to start blocking with the right lighting already in place. This was a huge time-saver. Experienced actors naturally find their light during blocking, which made the entire process smoother. It also helped the director get a better sense of the final look early on, which is far better than working under house lights or incorrect lighting.
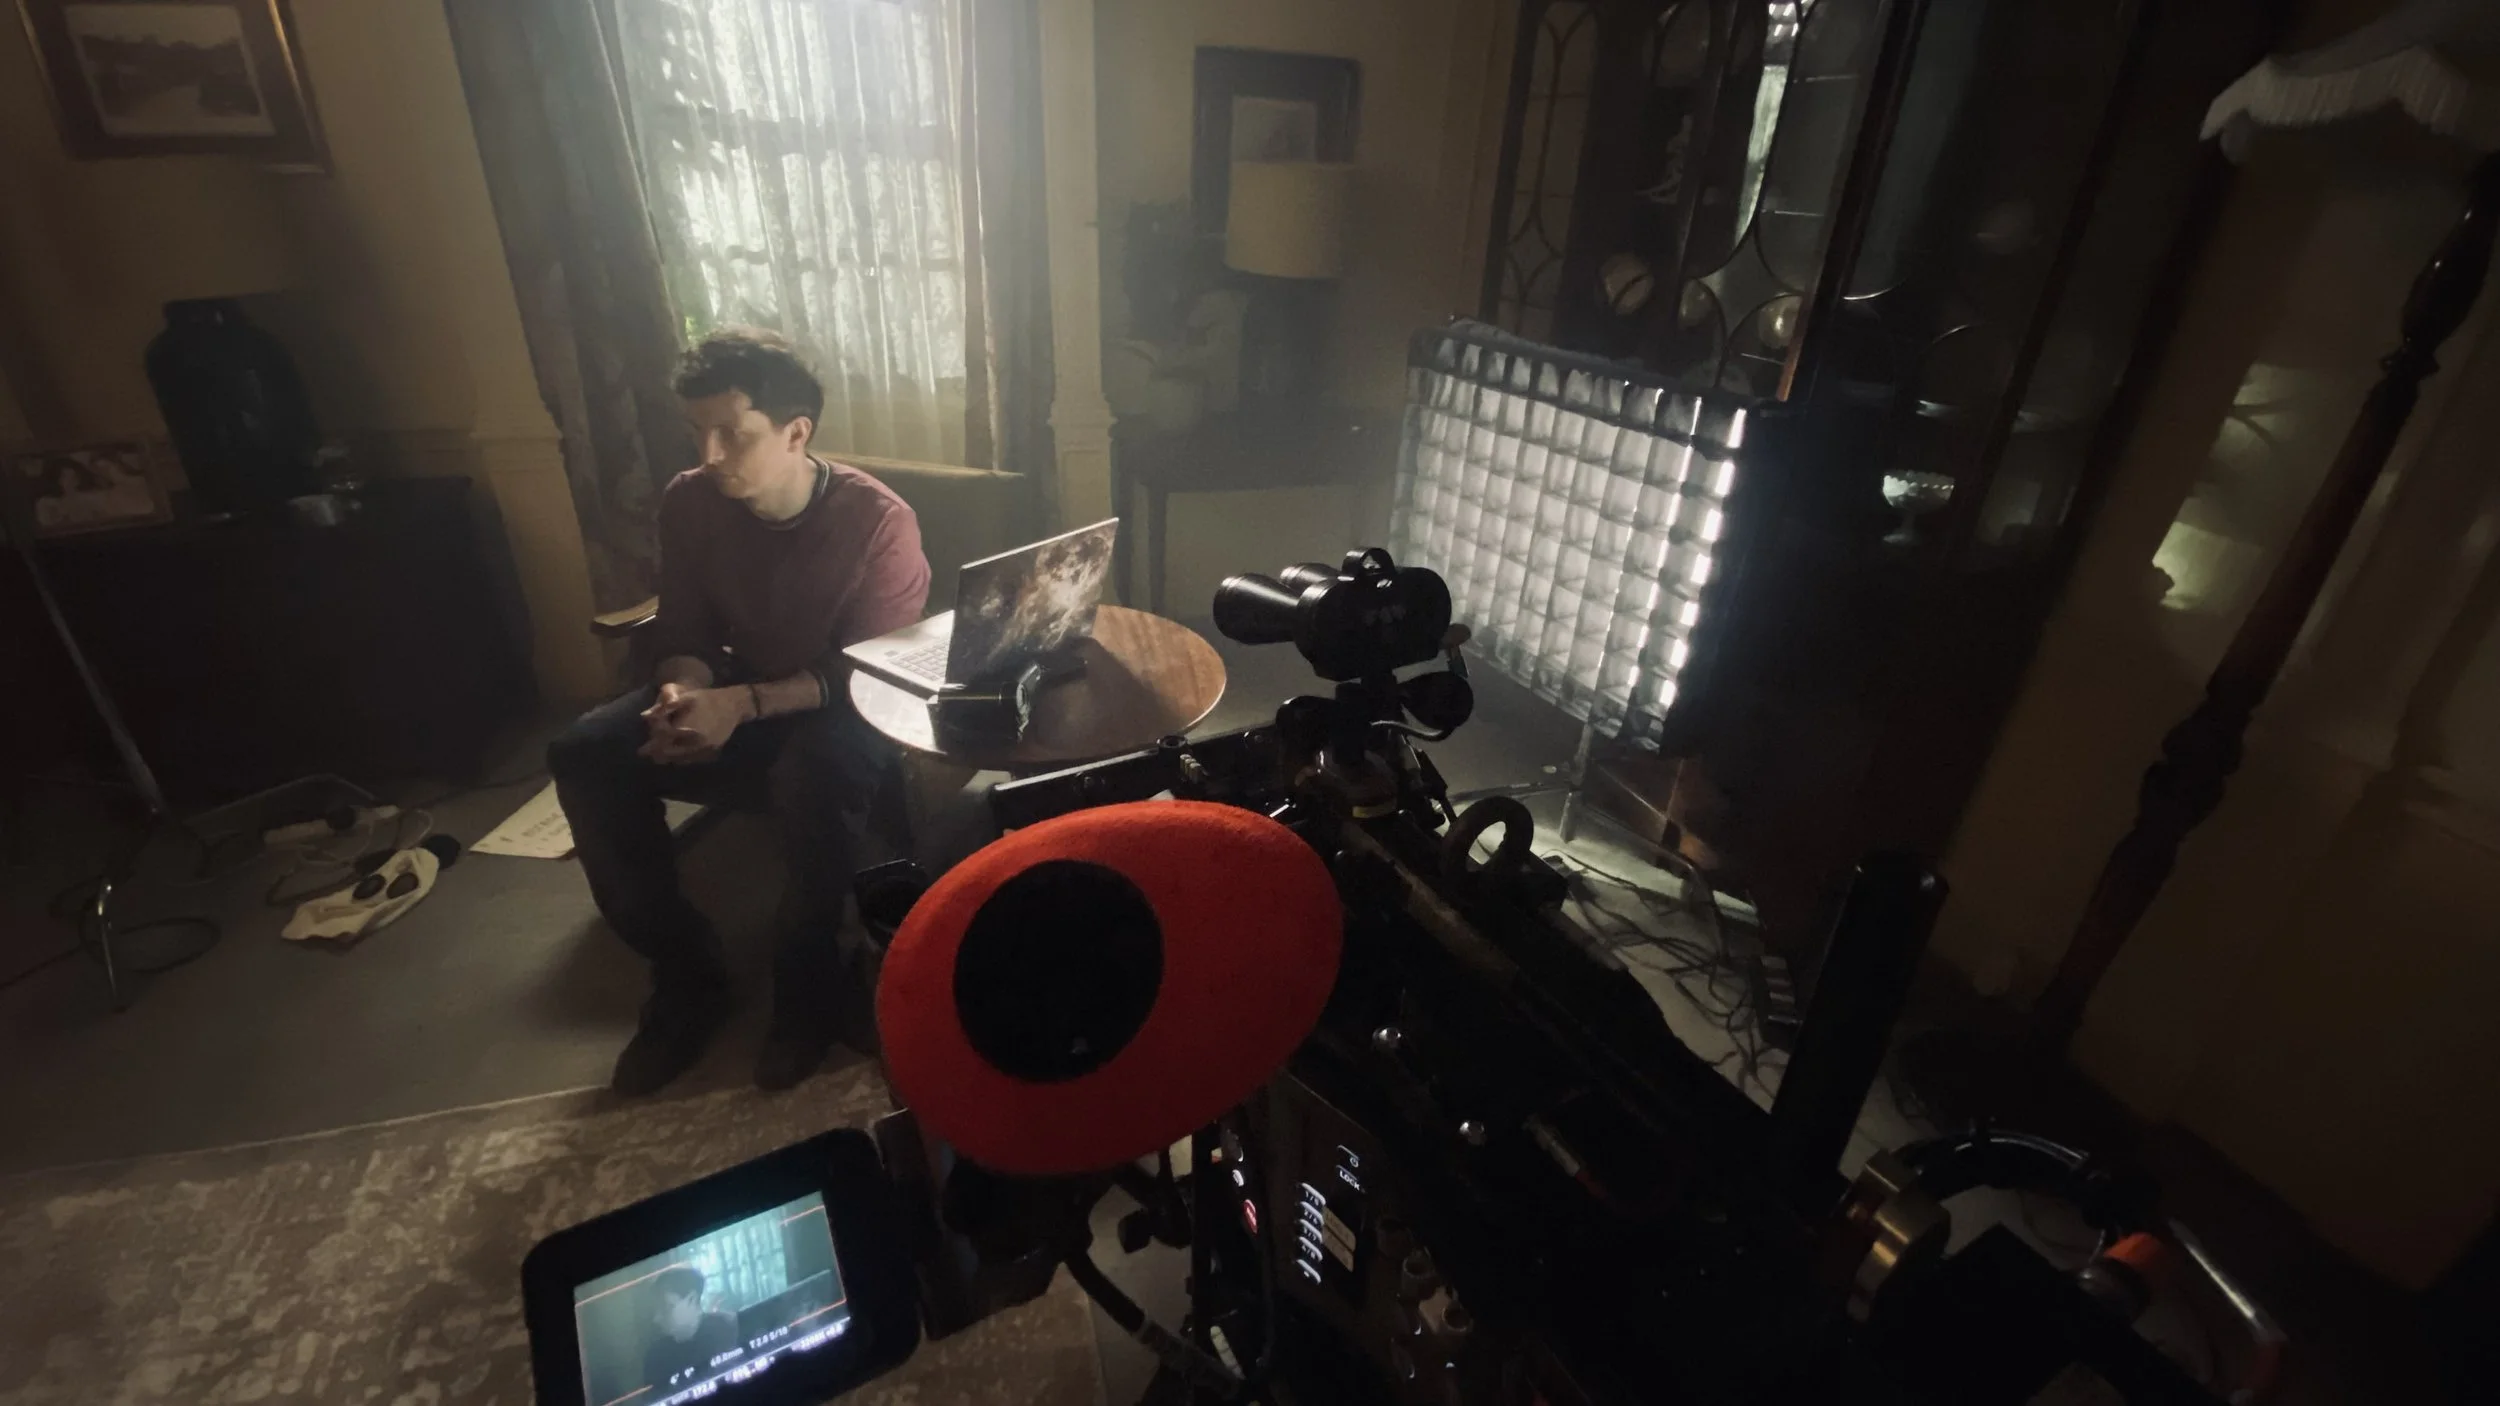
This was shot during daylight hours, but with all natural light blocked out and a 4x4 kino providing the window light behind Jack Parry-Jones
Here’s the behind the scenes of the lighting setup
Maximizing On-Set Time
By pre-lighting, we could streamline our workflow. Actors could head to makeup while we finalized the lighting, and by the time they returned, we were ready to shoot. This efficiency minimized downtime and allowed us to focus on capturing the best performances. It also meant we didn’t have to constantly explain our process to the director; they could just see the results and plan accordingly.
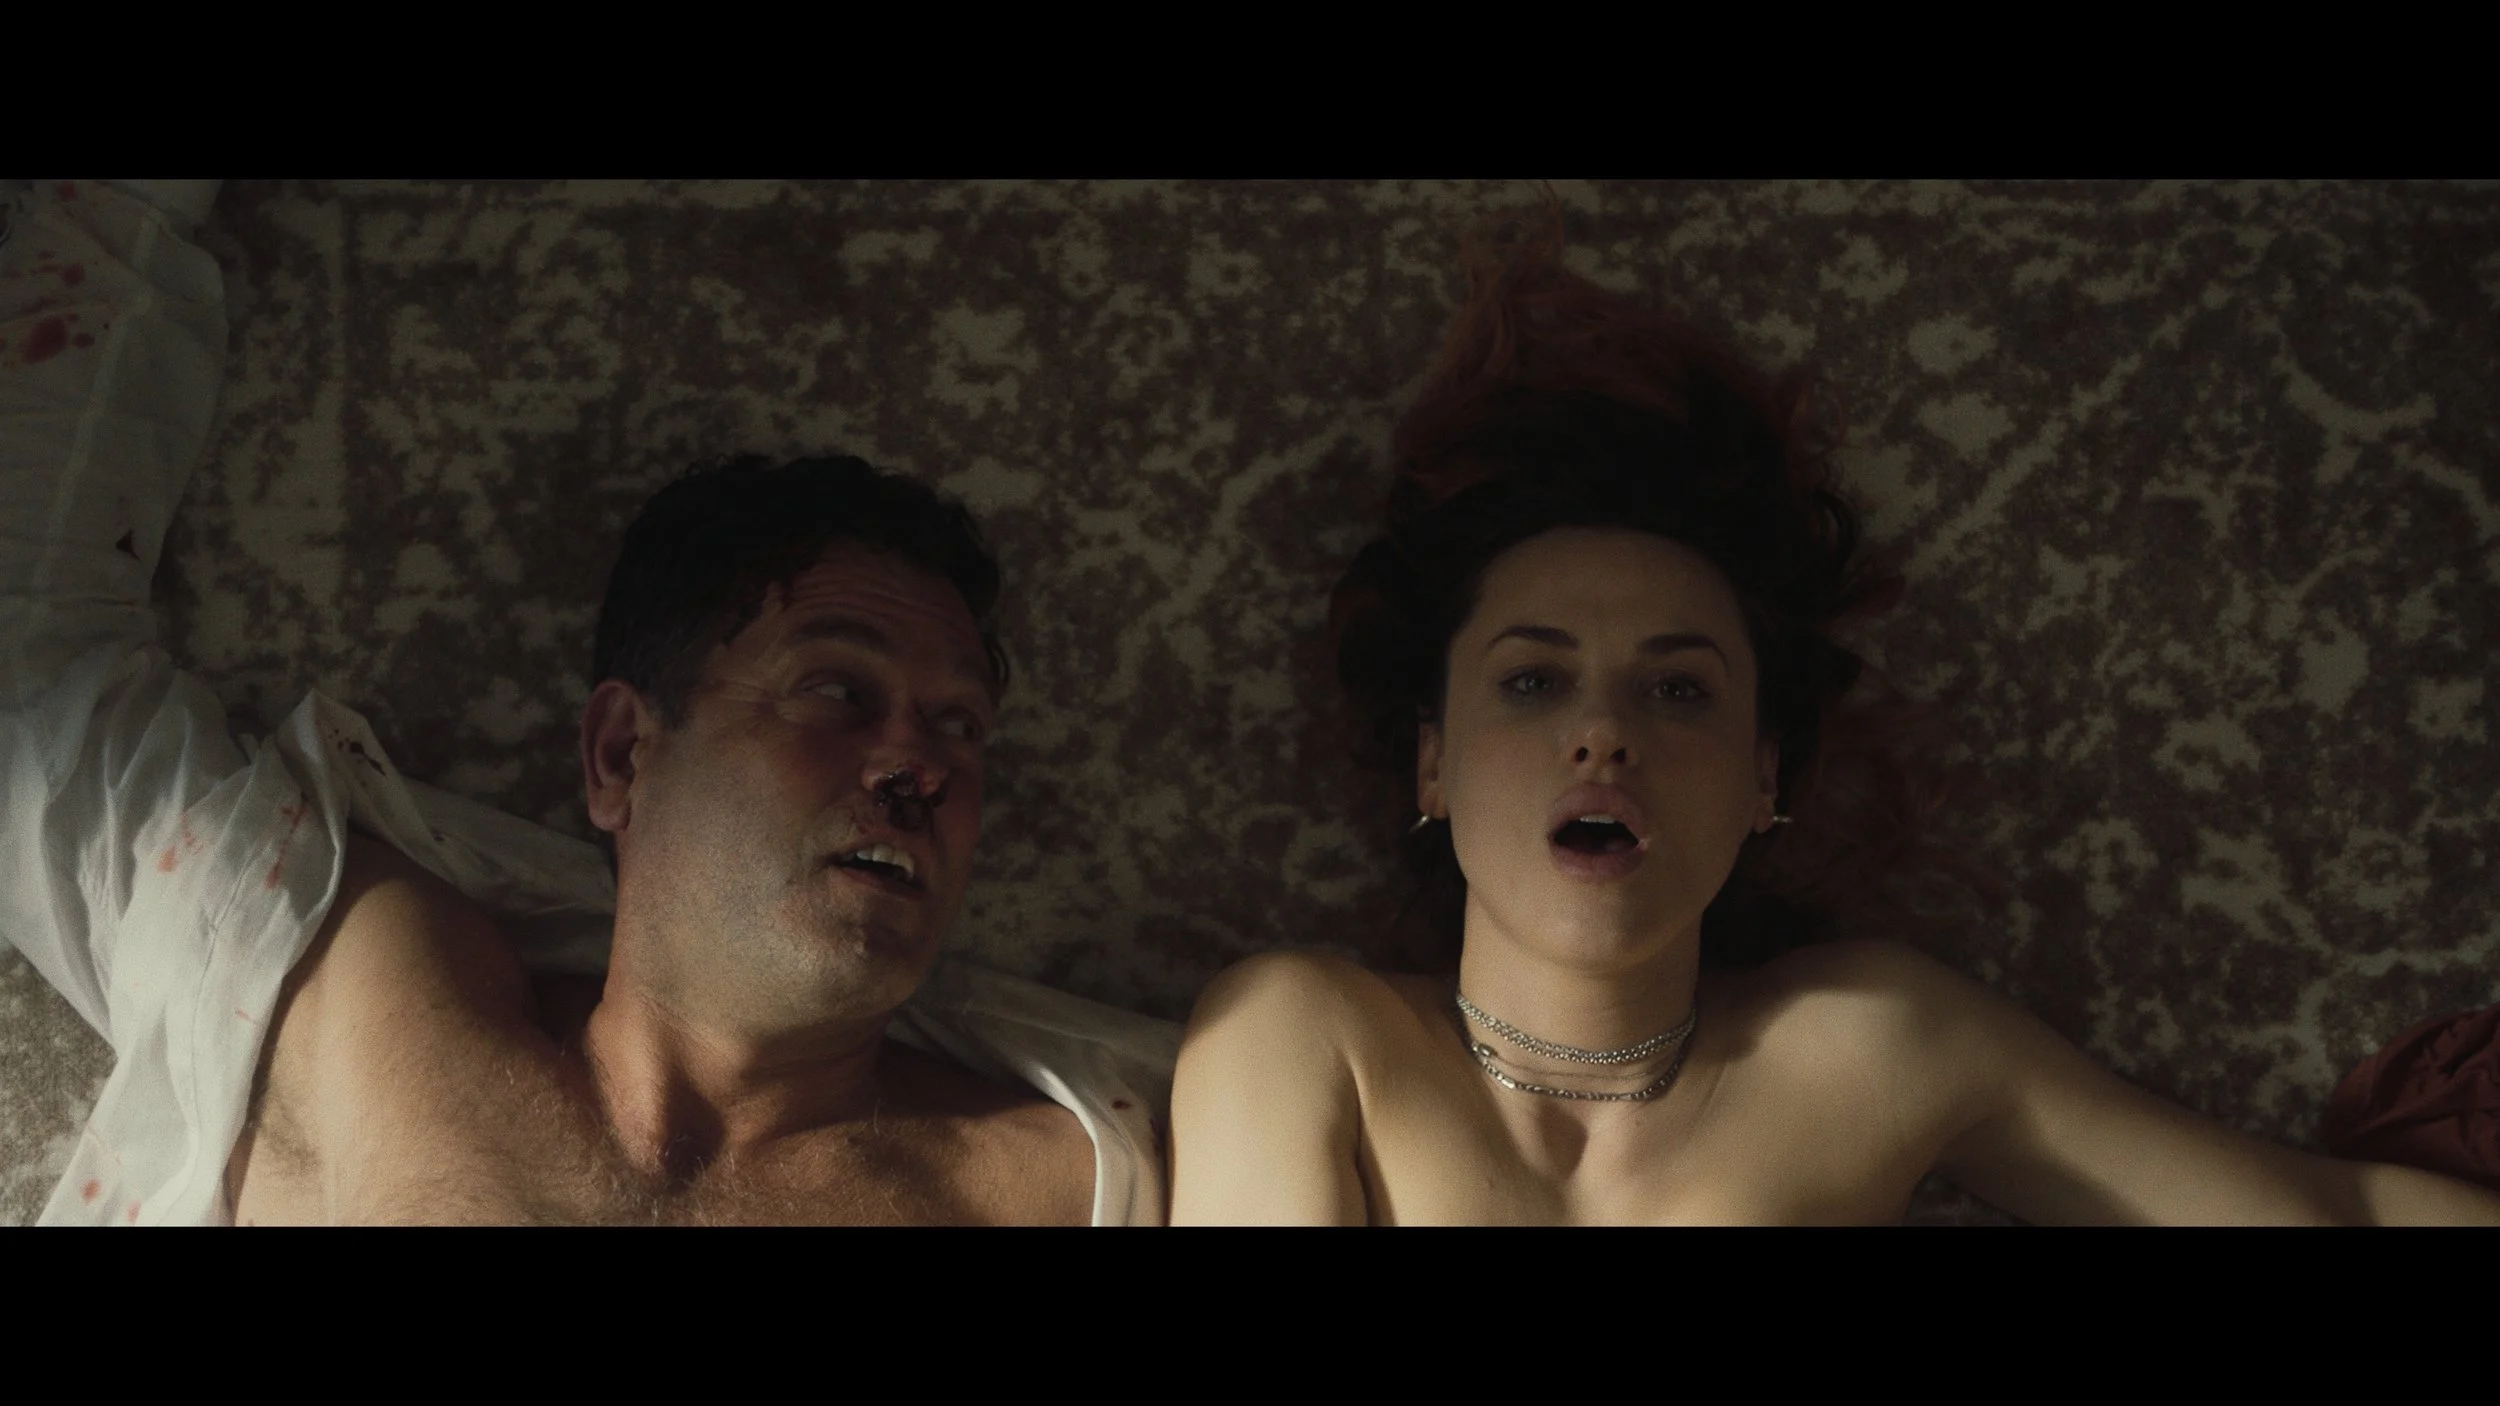
One of my favorite frames from the film, lit by a maxi brute through one of the living room windows
Inspired by this beautiful top shot from Old Boy
Wrap up
Looking back, blending old-school tungsten fixtures with a studio-style pre-light approach was a huge part of what made our shoot work.
It gave us flexibility, saved us time, and helped us stay on schedule without compromising the look of the film.
As always, the goal is simple — make life easier for the director and actors, and let the cinematography quietly support the story.


